Creating a Fibreglass Mold
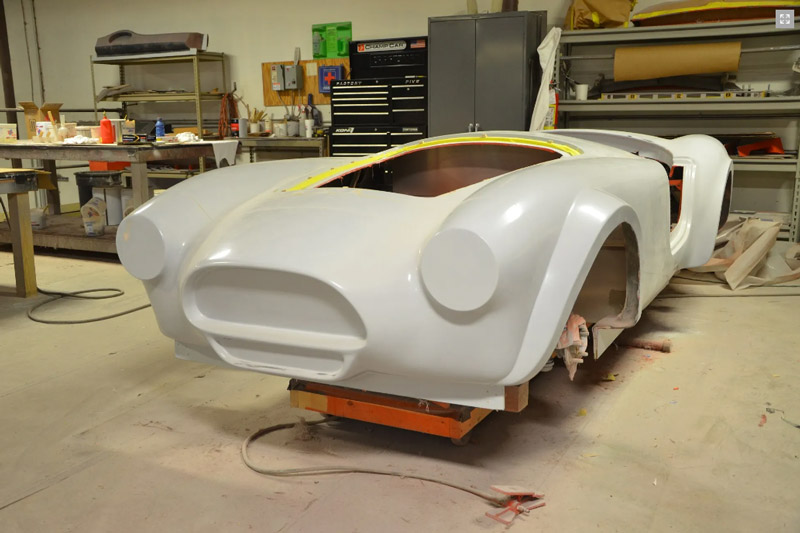 Creating a mould for a fibreglass car body is a complex but rewarding process. It involves making a plug (a full-sized model of the part you want to create), from which you then create a mould. The mould is then used to produce the final fibreglass parts. This guide will outline the steps to make a fibreglass car body mould.
Step 1: Design and Build the Plug
- Design: Begin with a detailed design of the car body you want to create. This can be done through sketches, 3D modelling software, or by modifying an existing design.
- Materials for the Plug: Common materials for constructing the plug include wood, foam, or a combination of both. You will shape these materials to form the exact dimensions of the car body you intend to replicate.
- Building the Plug:
- Construct the base shape using your chosen materials. For complex curves and shapes, foam is easier to sculpt and sand.
- Apply a layer of body filler (Bondo or a similar product) over the foam to create a smooth, sandable surface.
- Sand the body filler to achieve the final shape of your car body. This step requires patience and attention to detail to ensure the surface is perfectly smooth and accurately represents your design.
- Apply a high-quality tooling gel coat to the plug. This provides a hard, shiny surface that will form the inside surface of your mould.
Step 2: Apply a Mold Release Agent
- Once the plug is prepared and the surface is smooth and free of imperfections, apply a mould release wax or a PVA (Polyvinyl Alcohol) mould release. This ensures that the mould can be separated from the plug once cured.
Step 3: Construct the Mold
- Gelcoat Application:
- Apply a layer of tooling gel coat over the plug. This will be the first layer of your mould and will capture all the surface details of your plug.
- Allow the gelcoat to cure until it’s tacky to the touch.
- Fiberglass Layers:
- Start applying fibreglass mat or cloth layers over the gel coat, using polyester or epoxy resin. Use a brush or roller to work the resin into the fibreglass, ensuring no air pockets.
- Build up the fibreglass layers until the mould is of adequate thickness, typically 3/8 to 1/2 inch for a car body mould. Allow each layer to cure slightly before applying the next to avoid excessive exothermic heat buildup, which can cause warping.
- Reinforcement:
- For large moulds like a car body, reinforcing the mould with wooden or metal frames can prevent distortion and maintain its shape.
- Curing:
- Let the mould fully cure as per the resin manufacturer’s instructions.
Step 4: Release and Clean the Mold
- Carefully separate the mould from the plug. This may require gently prying and tapping around the edges of the mould to release it from the plug.
- Once removed, clean the mould thoroughly, inspecting it for any defects or areas that might need repair.
Step 5: Finishing Touches
- Trimming:
- Use a Dremel tool or similar to trim the edges of the mould for a clean, precise edge.
- Polishing:
- Polish the mould surface to ensure it’s smooth and ready for producing parts.
- Waxing:
- Apply several layers of mold-release wax to prepare it for the first part of production.
Tips:
- Attention to Detail: The quality of your plug directly affects the quality of your mould and, subsequently, every part made from that mould. Take your time to get the plug as perfect as possible.
- Safety: Always wear appropriate safety gear, including gloves, safety glasses, and a respirator, when working with fibreglass and resins.
- Ventilation: Work in a well-ventilated area to avoid exposure to harmful fumes from resins and gel coats.
Creating a mould for a fibreglass car body is a challenging task that requires skill, patience, and attention to detail. However, with careful planning and execution, creating a high-quality mould that can produce multiple car bodies or parts is possible.
Call (02) 9820 1595
For Expert fibreglass advice
or send a message below
We help you create successful projects.
Since opening in 1951 our range of products has grown massively. So has our knowledge. There is not much we haven't seen before so call us first. We can save you making costly mistakes.
![]()
Open Hours
Monday - Friday 8am - 4:30pm
Saturday 8am - 12pm
Help & Support
Terms Of Service
Privacy Policy
Members Only
Call us 02 9820 1595